My friend Janice, a very talented artist and clothing designer, sent me a message with a link embedded in it. The link led me to a site about stamp carving. My curiosity was piqued, and I moseyed over to Google to search for more information on stamp carving. Many sites recommended erasers as a suitable alternative to rubber carving blocks. And since I have several erasers just lying around the house, I decided to make my own rubber stamps.
Ishtar Olivera’s tutorial was my reference for stamp carving. Her step by step instructions were very easy to understand.
Since I am very impatient, I skipped steps 1 – 6 (transferring image from paper to eraser) and drew directly on the eraser.

I drew on the eraser because I have the patience and attention span of a goldfish.
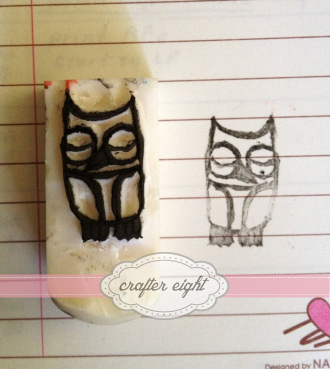
I don’t have actual photos of the carving process because I was too excited to finish the project. In my excitement, I accidentally gouged out one eye of the owl, so I took out the other eye to make it look like a sleeping owl. Also, taking out the white spaces can be challenging when using a craft knife. I had to cut at an angle to give the thin lines a sturdy base.
End result is this:
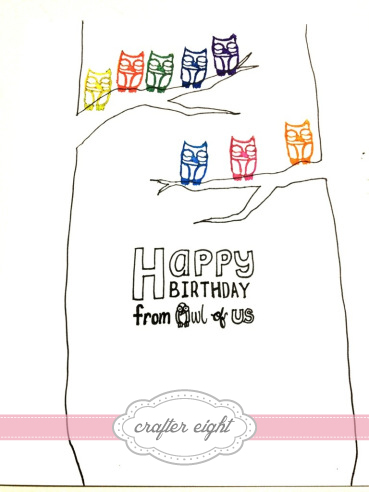
I used the stamp to make the birthday card for a colleague.
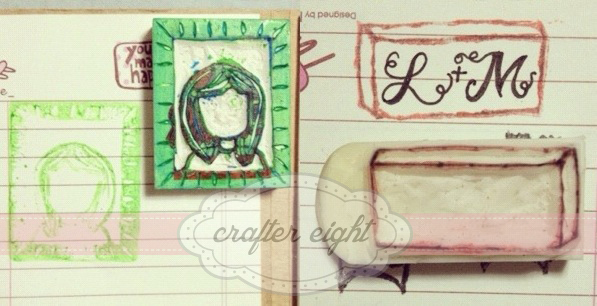
I love stamp carving. I love it so much I made 2 more stamps on the same day.

I made the face of the Lyra stamp blank so i can change the expressions. I drew the face using a tech pen.
Love is a process. Stamp carving and I are still in the getting-to-know-you stage, but I am already in love with it. While stamp carving doesn’t love me back just yet, I hope in time it will love me, too. 😉
-Lyra
Other helpful tutorials:
Stars for Dreams‘ post “DIY: Make Your Own Rubber Stamp”
Mairuru‘s post “How I carve a stamp with eraser”


